


Gravel mats (also known as stabilization grids) make it possible to create a stable, clean and durable gravel surface for driveways, garden paths and terraces. When properly installed, they prevent gravel from shifting, sinking or forming ruts – offering the look of natural stone with the stability of a solid pavement.
Below is a simple, step-by-step guide on how to install gravel mats correctly.
1. Remove the Topsoil
Start by excavating the existing top layer of soil. Remove soft or organic material until you reach a firm base. Install edging boards so they rise about 2 cm above the final grid height—this will help keep the gravel neatly contained.
2. Build the Foundation Layer
A strong foundation is crucial.
-
Dig to a depth of approx. 20–30 cm, depending on traffic load.
-
Fill the area with crushed stone or gravel (0–32 mm or 0–40 mm).
-
Compact each layer with a vibrating plate for maximum stability.
Avoid using brick rubble—it breaks down over time and causes sinking.
3. Add the Levelling Layer
On top of the foundation, add a fine levelling layer:
-
3–5 cm for pedestrian areas
-
5–10 cm for driveways
Use fine gravel (1–4 mm) or washed sand. Compact and level the surface until smooth.
4. Lay the Gravel Mats
Place the stabilization mats onto the levelled surface.
-
Cut the panels to size if needed.
-
Lay them in a staggered pattern (half-brick style).
-
Make sure geotextile overlaps where required to prevent gravel sinking beneath the mats.
5. Fill the Mats with Gravel
Now add the decorative gravel:
-
Choose stones 4–16 mm in size.
-
Fill the mats completely and spread gravel 1–2 cm above the top of the grid.
-
Do not compact the top gravel — natural settling will occur over the next few weeks.
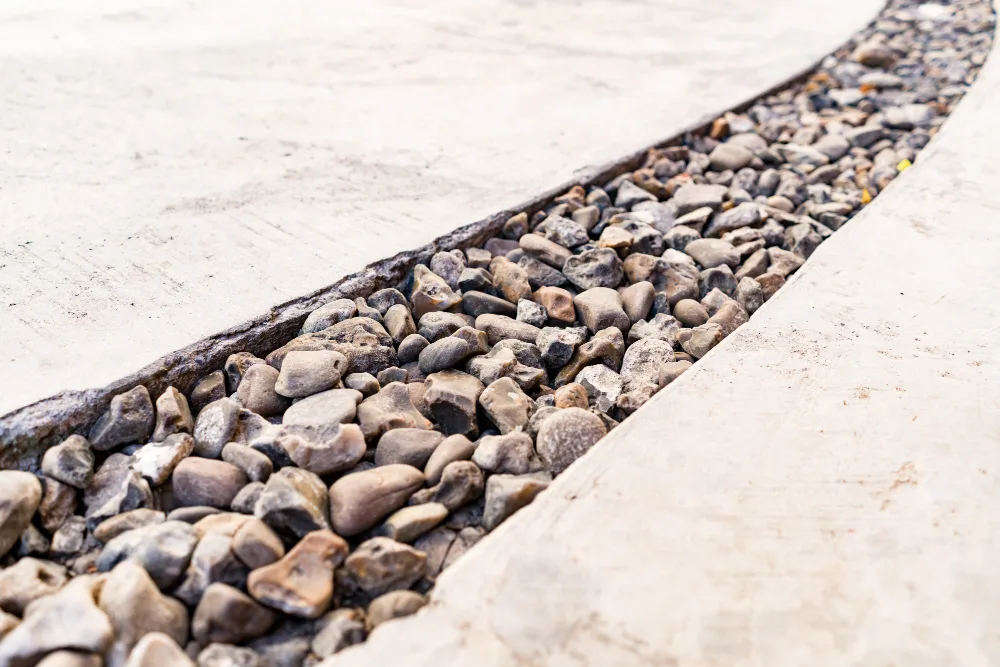
For driveways, angular gravel is recommended; for terraces and paths, rounded stones are more comfortable.
6. Final Check and Adjustment
After a few weeks of use, inspect the surface and add gravel where necessary. Once settled, the mats will remain stable and require minimal maintenance.